Ready for a bathroom remodel, but not sure how to demo a bathroom safely and effectively? Not to worry! It’s within the scope of most DIYers to demolish a bathroom on their own. Plus, if you want to be cost efficient, gutting a bathroom on your own can also help you save money. With a little prep and a good guide, you’ll be one step closer to the bathroom of your dreams in no time.
1. Gather your bathroom demo tools and supplies

The first step in knowing how to demo a bathroom is to gather the right tools for the job. Fortunately, most bathroom demo tools you might need are ones you might already have in your own home. The tool that most people might need to rent or borrow is the shop vac.
- Adjustable wrench
- Bucket
- Chisel
- Drain covers (to prevent sewer gasses from escaping into your house)
- Duct tape or painter’s tape
- Face masks
- Hammer/mallet
- Heavy-duty garbage bags
- Jig saw
- Knee pads
- Ladder
- Plastic drop cloths
- Pliers
- Pry bar
- Rags
- Reciprocating saw
- Rubber gloves
- Safety Goggles
- Shop vac
- Screwdrivers
- Utility knife
- WD-40
- Wire brush
- Work gloves
You will also want to make sure that you have some cleaning supplies such as a broom, dustpan, mop, and rags on hand for cleaning up afterward or as you go.
Finally, make sure that you know where you’re going to throw away items like demolished toilets and sinks after they are removed. One of the best ways to do this is to rent a residential roll-off dumpster. That way, you won’t be stuck with a pile of demolished bathroom debris stacked up on your curb with nowhere to go.
2. Prep your bathroom for demolition
2.1 Set aside time for your bathroom demo
How long does it take to demo a bathroom? Rome was not built in a day, but bathrooms can be gutted in just one or two. Depending on your DIY skills and how many people you have helping you, you might be able to complete your bathroom demo over a weekend. Keep in mind that that’s just the demo, though—a full remodel will obviously take longer.
2.2 Remove anything that can be easily removed
Clearing your bathroom of little things and easily moveable items first makes for an easier and cleaner demo later on down the line. If it can easily be taken out, take it out now.
- Loose items stored on sink tops, in drawers, cabinets, vanities and showers
- Removable storage, such as bottle holders or wall caddies
- Shower doors, shower curtains, curtain rods, towel rods, towels, wash clothes, etc.
- The shelves and cabinets themselves
- Hanging mirrors, big and small
- Pictures or other decorative wall art
- Baseboards and trim
You might also consider temporarily removing the bathroom door at this time, especially if you are planning on replacing your bathtub.
2.3 Shut off the water and electricity
You’re going to be removing appliances that are connected to water pipes. To prevent a mini flood or electric issues, put safety first, and don’t forget this step!

2.4 Drain the remaining water
Even if you’ve turned off your water already, some water is still sitting in your pipes and toilet. So once you’ve turned off the water, run your faucets in your sink and shower until nothing else comes out. Then, flush the toilet to drain the tank and the bowl, put on your rubber gloves, and sop up the remaining water with a rag or a sponge.
2.5 Cover your vents
Want to keep the dust and debris from entering your ceiling vents and being distributed all over your house? Take a plastic sheet and some tape and cover your vents.
3. How to demo a bathroom vanity
3.1 Remove the drain trap

- Place a bucket under the P-trap (the u-shaped bend in the pipe under your
sink). This will catch any water remaining in the trap when it is removed. - Using your wrench or pliers, unscrew the nuts connecting the P-trap to the branch drain pipe in the wall.
- Once free of the wall, carefully lower the P-trap away from the tailpiece section that extends down from the sink.
- Dump any water left in the P-trap into your bucket.
- Use your drain covers to cover the open pipe in the wall. This will prevent sewage gas from seeping into your home. If you don’t have drain covers, stuff a rag in the opening for a temporary fix. Just don’t forget to remove it later.
3.2 Remove the sink
- If your sink is separate from the vanity top, remove it first.
- Remove brackets or bolts that connect the sink to the wall or the cabinet.
- Lift the sink out. If your sink is heavy, enlist the help of a partner or friend.
3.3 Remove the vanity top
- Use your utility knife to cut through any caulk connecting the vanity to the wall.
- Remove any remaining brackets or bolts that connect the vanity to the wall or the cabinet.
- Pull the vanity top up and away from the wall.
- If the vanity top still won’t budge, check to make sure that it is not glued to the top of the cabinet. If it is, you will need to pry it loose or simply remove it at the same time as the cabinet itself.
3.4 Remove the cabinet
- If you have not already, remove any caulk trim connecting the cabinet to the wall.
- Look inside the cabinet to see how it is anchored in place.
- If your cabinet is anchored with screws and studs, remove them from the wall, floor, or both.
- If your cabinet is anchored with nails, use your pry bar to pry it away from the wall carefully.
3.5 Take your demolished vanity to the dumpster and celebrate
- Take all the debris from your vanity removal and throw it in your dumpster. Leaving debris in the bathroom will make your demo area dangerous.
- Celebrate, for you have just removed your sink.
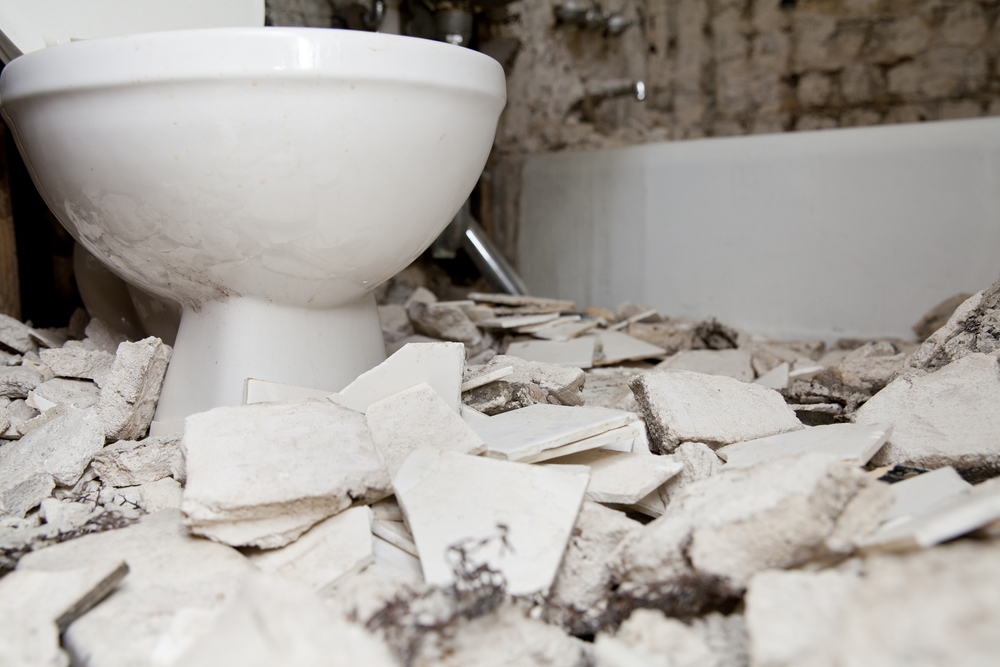
4. How to demo a toilet
4.1 Disconnect the toilet from the water supply
- Disconnect the supply pipe located on the wall behind the toilet from the tank and supply valve.
4.2 Remove the toilet
- If you have a two-piece toilet, remove the tank by lifting it from its base. Move it to the side. If you have a one-piece toilet, skip ahead to the following step.
- Unbolt the toilet from the floor. The nuts and bolts might be covered by a cap. If the cover, nuts, or bolts are stuck firm, use your WD-40 to help loosen them.
- Break the toilet seal on the floor by cutting through the caulk with your utility knife.
- Lift the toilet base and move it to the side.
4.3 Clean the drain pipe area

- Remove the wax ring using your utility knife. A paint scraper or even a metal spatula will work in a pinch.
- If the flange is still in good condition, clean it with a wire brush. If it needs to be replaced, unscrew it and remove it.
- Use your drain covers to cover the hole, or use the rag trick from before.
4.4 Take your demolished toilet to your dumpster and celebrate
- Clean up the debris so that you can tackle the next bathroom demo project safely.
- Celebrate, for you have just removed your toilet.
5. How to demo bathroom tile
5.1 Check for lead
- If your home was built before 1978, you will need to test your bathroom walls for lead before taking a hammer to your tiles.
- Lead test kits typically run about $10. D-Lead and 3M LeadCheck are widely available and recognized by the EPA.
- Should your walls test positive for lead, call a professional to complete this step of your bathroom demo.
5.2 Cover your doorway
- If you opted to remove your door from the doorframe, cover the opening with a plastic tarp so that tile dust doesn’t wind up all over your house.
- If you skipped covering up your vents before, consider covering them now.
5.3 Remember to pace yourself
- Smashing tiles is arguably the most fun part of a bathroom demo job, but it’s also the most tiring, especially prying stubborn tiles loose.
- If you have tiles over any sizable surface area, make sure to dedicate at least a full day to their removal.
- While working, remember to wear your mask and take regular breaks.
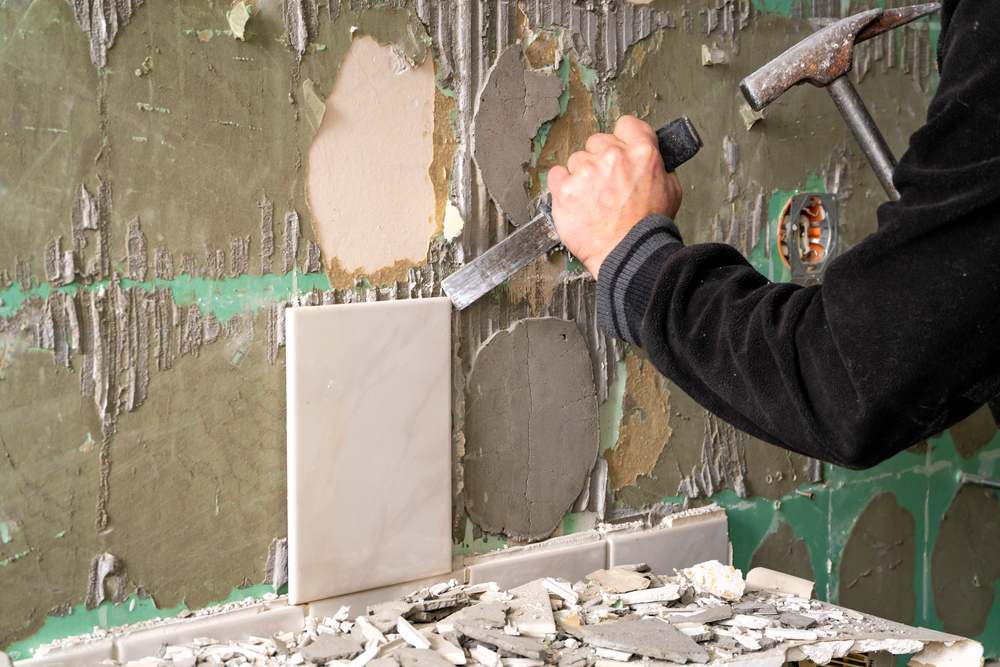
5.4 Demo shower tiles
- Using your hammer and chisel or mallet, remove the tile in the top corner of the wall.
- Move in a horizontal line along the top of the tiles, removing them as you go, then in a vertical line, along the edge of your shower.
- Once you’ve demolished those rows, use a reciprocating saw to cut a seam in the exposed drywall. Avoid studs.
- Use a pry bar to pry down sections of the tile and the tile backing.
- Rinse and repeat until all of the tiles are removed.
5.5 Demo floor tiles
- Note that this step can be delayed until the end of your demo project!
- Start at the doorway and work your way in toward the back of your bathroom.
- Use your hammer and chisel to pry up tiles.
- Remove as much of the grout and mortar as possible as you work.
- Rinse and repeat until all tile is removed.
5.6 Take your demolished tile to your dumpster and celebrate
- Using your work gloves and heavy-duty garbage bags, carefully remove the demolished tile from your bathroom and take it to your dumpster
- Use your shop vac to remove the remaining dust and debris from your bathroom area.
- Celebrate, for you have just removed your tile.
6. How to demo a bathtub
6.1 Prep the tub for removal
- Make sure the tub is completely dry
- If you have not already done so, carefully remove any of the tub’s fixtures, including spouts, faucets, soap holders, etc.
6.2 Unanchor the tub from the wall and floor

- Depending on your tub, you may need to cut through the drywall over the basin, leaving a gap of about 8 inches. Avoid studs.
- Check around the base of the tub for caulk, and use your utility knife to cut through it.
- If the tub is fastened to the wall with screws, remove them.
- Separate the tub from the wall by a few inches.
6.3 Cut the tub
- You may be able to fit your tub through your doors all in one piece, but most people cannot. And a full-size tub can be cumbersome to move. The solution? Cutting your tub into pieces.
- Use your jigsaw to cut the tub into as many pieces as possible as this makes it easier to transport it out of your bathroom. You can typically get away with just two, but you may want to do more for ease of transportation.
6.4 Take your demolished tub and shower to your dumpster and celebrate
- Time to carry your tub pieces to your dumpster so that you can wrap up this demo project and get on to the remodeling.
- You might have been able to fit various other elements of your bathroom demo into a standard trash can, but this is where your dumpster really comes in handy!
- Celebrate, for you have just removed your tub and shower.
Do your demo with Texas Disposal Systems
Now that you are done swinging your sledgehammer and are ready for your bathroom face-lift, you might notice that you are down one functioning bathroom. Now what? Never fret, Texas Disposal Systems has you covered there, too. Not only can we help with your dumpster rental, but we have portable restrooms, portable showers, and even portable laundry units available for your next DIY home project.
Our roll-off dumpsters come in a variety of sizes and can be delivered right to your door in a scheduled window that works for your needs. Our dumpster rentals are available in all of our service markets including Austin, San Antonio, Sealy, Alpine, San Angelo and Weimar. Not sure if we serve your area? Contact a TDS Customer Care expert at (800) 375-8375 to get your questions answered.
Check out our rental guide, request a quote, or simply contact our friendly support team to get started today.