Humankind has been composting in one way or another since we first started farming. Taking the organic waste produced from our consumption and recycling it in a way to better grow more food is a natural, and often necessary, step in the farming process for people around the world.
In fact, we have written documentation of organized composting on clay tablets from the Akkadian Empire back in 2320 – 2120 BC! While that was a simpler form of the process, the composting process we know today can be traced back to Sir Albert Howard who developed the Indore method before WWI.
Even with how ingrained and long-running composting is with our species, a recent survey revealed that 72% of Americans do not compost at all. With all of the benefits and how easy it is to do (both outside and inside the home) that number can be much lower.
Here’s our case for composting, including how to do it and why it’s a beneficial practice.
What Are The Benefits of Composting?
Large-Scale Benefits
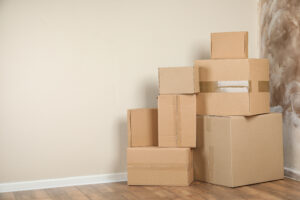
On average, compostable food scraps and yard waste make up almost one-third of what Americans throw away and put into landfills. You may be thinking, “What’s the big deal? It’s decomposing in the ground either way,” and while this is a logical thought process, it’s an incorrect one.
Unlike with composting, when organic waste is buried in a landfill it lacks the air needed to decompose quickly. This slower process creates methane gas, which eventually finds its way out into our atmosphere and contributes to environmental issues. Beyond the gas, there is the real estate that landfills take up. The more materials we put in landfills, the more they fill up and the more landfills we need to build. Composting cuts down the need for landfills and helps the earth in more ways than one!
Small-Scale Benefits
To put it simply, if you grow any plants at home, compost is great for them! Compost naturally enriches soil, retains moisture, and suppresses plant diseases and pests. That means fewer harmful bugs eating your plants! This also means fewer chemical-based pesticides and fertilizers, which allows you to save money, grow better plants and have somewhere to put all your organic waste
With these benefits in mind, here’s how you can start composting at home:
How to Compost at Home: Indoor and Outdoor
Indoor Composting
It doesn’t matter if you live out in the country with acres of property or an apartment in the city—you have options to compost. For those with limited space, indoor composting is a great option!
Using a special type of bin (compost tumblers or worm composters are popular options), you can compost food waste within the confines of an apartment. Without yard waste (which can make up the majority of a traditional compost pile), indoor composting can take up minimal space while still providing benefits for the household.
As long as you maintain it well, indoor composting won’t smell bad or attract pests while still producing quality compost. For full peace of mind, invest in a charcoal topped filter, which can also trap odors and clean the air around your compost. Specifics for indoor composting varies depending on what type of bin you will be using, so be sure to look into each type’s recommendations.
Outdoor Composting
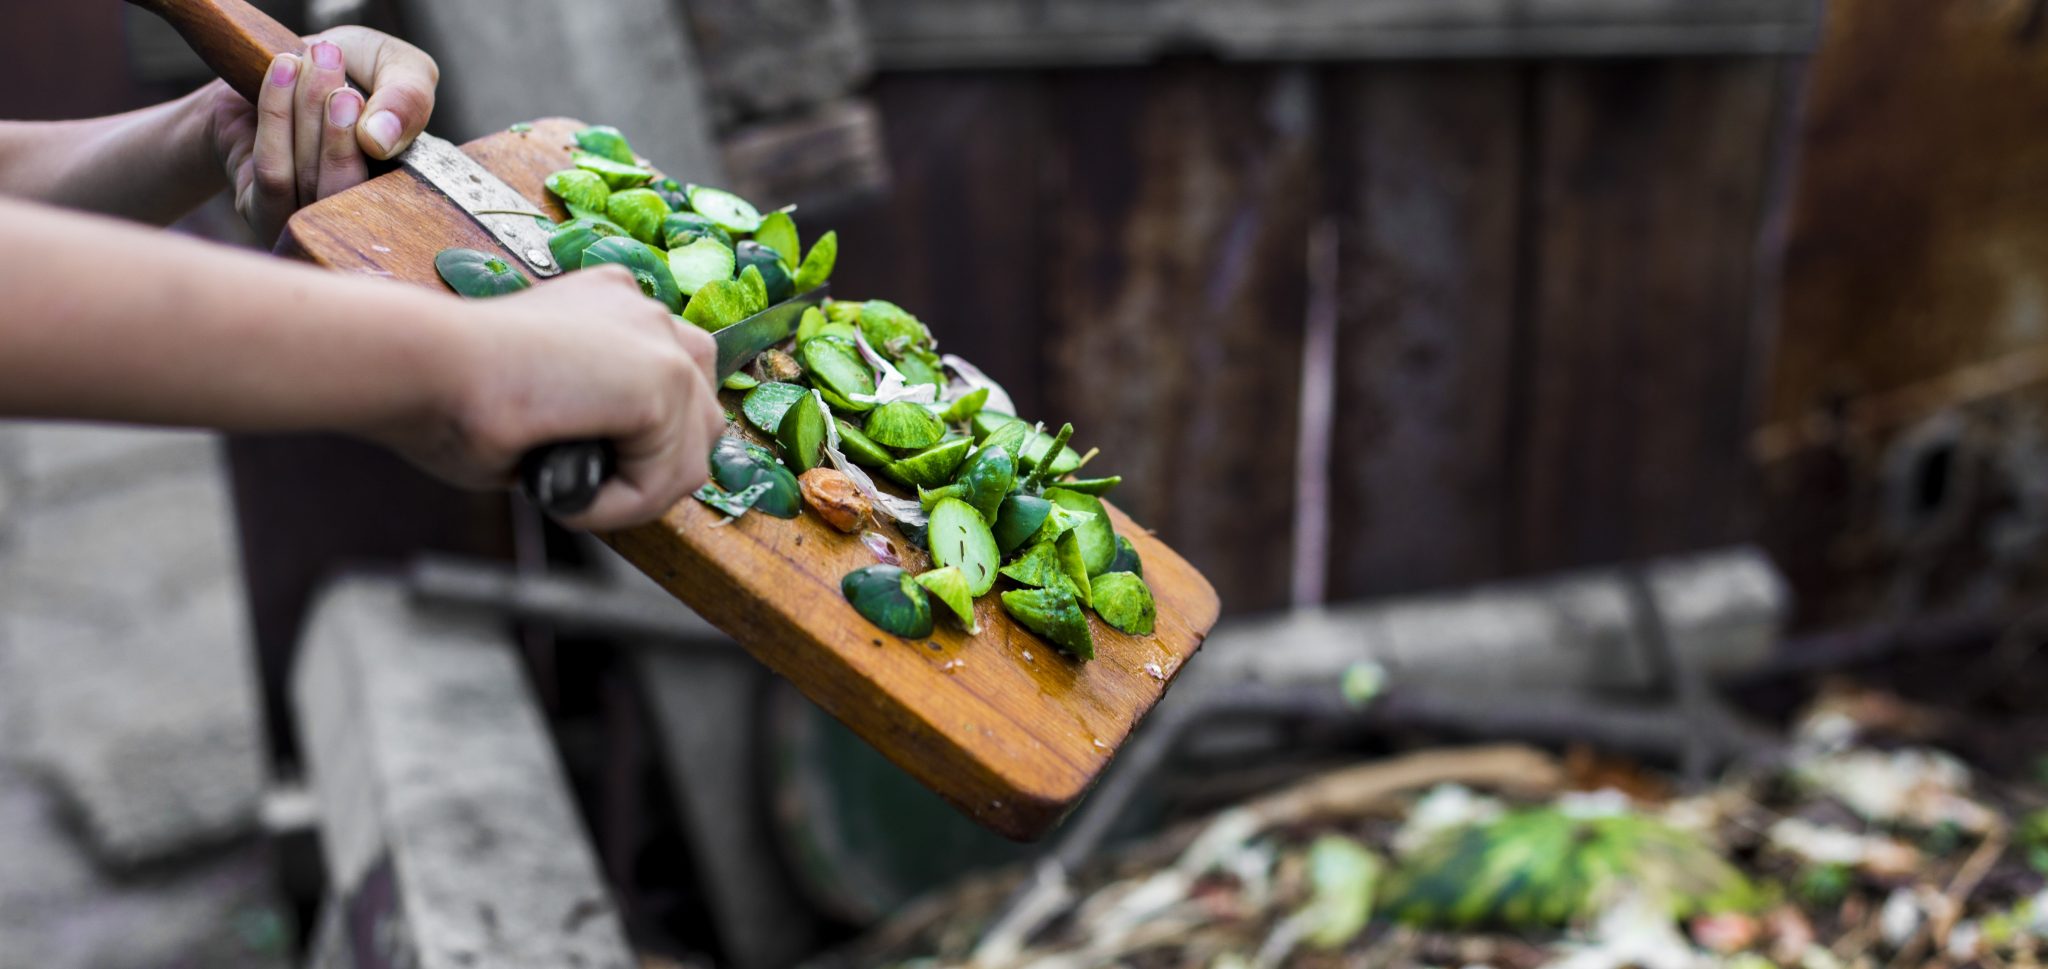
As the more traditional and well-known method, outdoor compost piles are an easy way to better maintain your property. The best method is to alternate layers of “Greens” (grass clippings, vegetables, fruits, and similar waste) and “Browns” (dead leaves, branches, and the like), then keeping up with light watering to keep the entire pile moist.
Browns provide carbon and give the compost its light and fluffy body, while Greens provide nitrogen, giving the enzymes the raw materials they need to thrive. You can create a pile in a designated section of your yard or use a composting structure for a more orderly, cleaner look. Either way, the method just needs the following steps:
Steps for Outdoor Composting
- Buy your tools – a pitchfork, square-point shovel, water hose with a spray head, and tarp or cover if not using a structure.
- Find a location – somewhere dry with good drainage and shade.
- Prep the ground – remove any grass or debris so you are starting with bare soil
- Start with a layer of twigs or straw a few inches deep to aid drainage and aerate the pile.
- Alternate layers of Greens and Browns (a 1/2 to 2/3 ratio favoring Browns)
- Moisten any dry waste as it’s being added.
- Cover the pile to retain moisture and heat
- Use the pitchfork and shovel to turn the pile every few weeks. This aerates the pile and prevents clumps from forming.
- Moisten as needed (or let the rain take care of it)
- Harvest compost once it’s ready (the material will have turned a blackish, dirt color.) This can take anywhere from a couple of months to a couple of years, depending on a variety of factors. Check when you turn the pile.
Composting Tips and Tricks
Composting is just piling up your waste, aerating and watering it every so often, and waiting. There are a few tips and tricks that you can use to more efficiently maintain your compost, however.
These are not necessary but can help speed up the process and avoid common problems that may arise:
- Different waste will decompose at different rates. Cut waste into smaller pieces to help your materials decompose at a faster rate.
- Use compost pails to store waste until it’s ready to be added in as a whole layer. This isn’t necessary for maintaining a pile, but can keep the decomposing process more even.
- DO NOT put meat scraps or bones in your pile. These can cause bad odors and attract unwanted pests without providing any real benefits.
- If you are ever unsure if something can be composted, Google it (or check out the TDS Waste Wizard). There are many lists breaking down what can and can’t be added.
- Avoid layering leaves and grass clippings in thick layers as they tend to mat together, reducing aeration and slowing down the process.
- Aim to bury fruit and vegetables at least 10 inches deep to avoid odors and pests.
- If you don’t have enough Greens to hit the optimal ratio, you can use manure as a substitute.
- Fight any odors and flying insects you may have by covering every new addition with grass or mulch and added lime or calcium to your pile
- Soggy pile? This common problem, especially in the winter, that can be fought by adding more Greens or Browns to get that healthy ratio.
- Hot, steaming pile? Do nothing, that’s good. The composting process produces heat as the enzymes do their work.
Time To Compost
Now you know what you need to know to get started on your own compost pile. Don’t need as much compost as you are making? See if any green-thumbed friends are interested in your extra, or find a service like Texas Disposal Systems to donate compost or compostable materials. If you can help it, don’t send it to the landfills!